Telecom Tower Inspection using DJI Phantom 4 Pro: Step-by-Step Guide
A few weeks ago a new DJI Phantom 4 Pro was delivered to our office. It’s the newest drone from the Phantom series that offers full 360-degree collision avoidance, a huge 30-minute flight time and an impressive 20 Mp camera with a one-inch sensor.
We decided to challenge this promising drone with a real job and I went to windy Kiama, NSW to inspect a cellular network tower for this post.
During my flight I found that the inspection setup of the Phantom 4 Pro is incredibly easy and I hope that my step-by-step guide will help you to get the same positive experience.
Getting ready for drone inspection
Just a few obvious, but very important things. Prior starting any inspection flights it is strongly recommended to do the following:
- Read your local drone laws (documentation from CASA or FAA or similar authority) and check that the area you are flying is not listed under restricted airspace
- Notify local aviation authorities about your flight if it is required to properly gain authorization
- Check the wind and weather forecast for the planned date and time
Preflight check
- Check that batteries are fully charged and propellers are mounted properly
- Check that the status of the drone is Ready to Go GPS
- Make sure that there are no errors on the screen and all works as it should
- Perform a compass calibration
The easiest way to perform an asset inspection with DJI aircraft is to use the DJI GO App and the smart flight mode called Point of Interest.
Step 1: Setting up Interval Shooting
Open the DJI GO App and activate Interval Shooting mode. It removes the need to manually click the shutter button as you inspect an asset. For this inspection I used 2 second interval between shots, which is the shortest interval possible on Phantom 4 Pro. I hope that the later releases of firmware will provide a choice of 1 second interval.
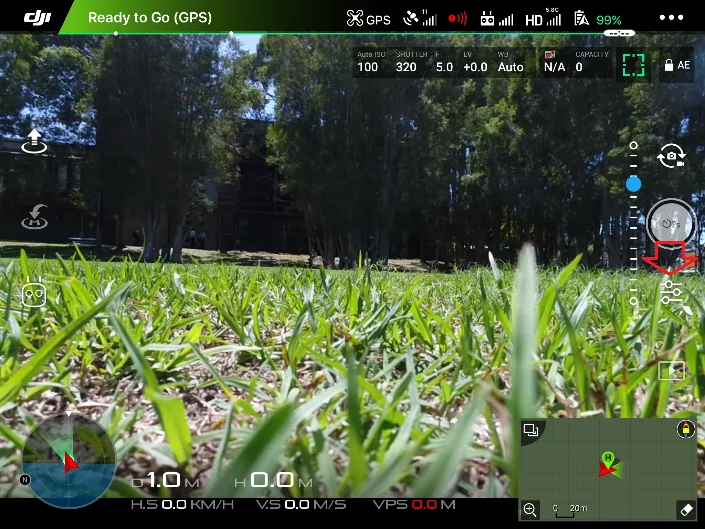
To start, click on the camera settings button
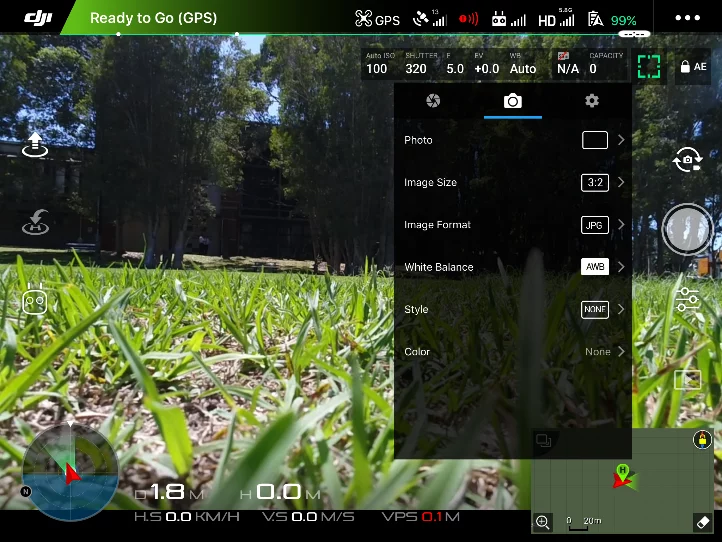
Go to the camera icon in the top menu and select the photo icon.
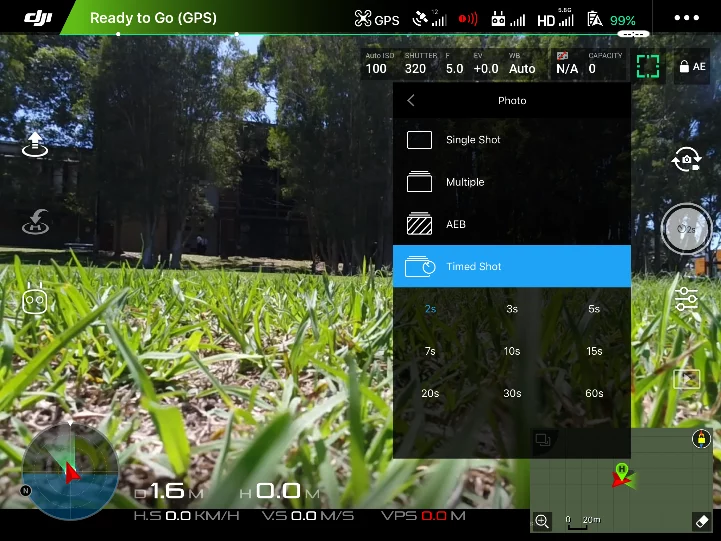
Inside the Photo tab menu provides different shooting settings. Select timed shot and 2s.
Now the Interval Shooting mode is activated. Once you press the shutter button on the Remote controller, your drone will be taking photos with two-second intervals.
Step 2: In the Air
Get the drone up in the air and proceed to flying over the inspection asset. When hovering above the asset keep an optimal distance of 5 meters. This will ensure your camera properly captures the Point of Interest and keeps it while the drone is starting to orbit around the point.
If your inspection object is a cell phone tower or a broadcasting tower leave some extra distance to avoid interference. The higher you are the more certain you need to be about the position of the drone above the Point of Interest. Try to keep your aircraft as still as possible when flying in the Point of Interest mode.
Note that inspection assets often lie on the hills or high points where the winds are a lot stronger, so it’s very important to choose the right time when inspecting smaller assets in particular.
Step 3: Point of Interest flight path
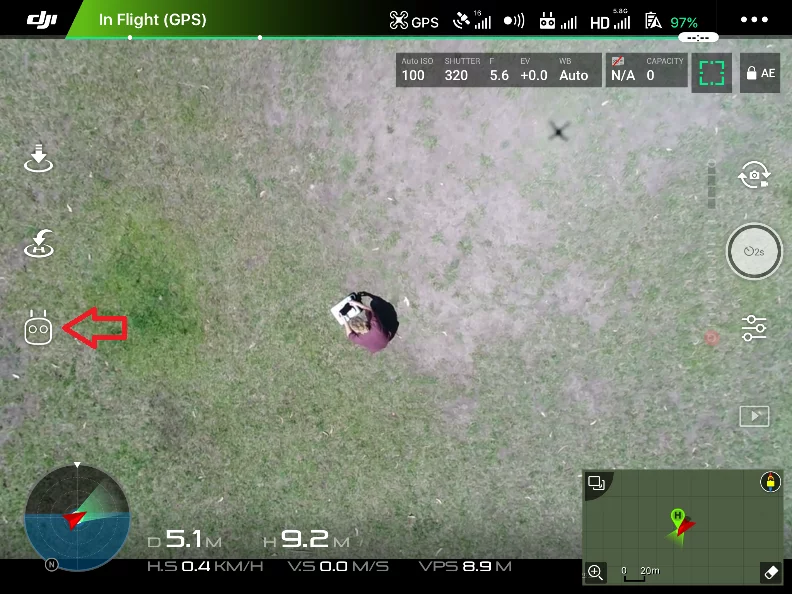
Once you are 10 meters above the Asset location, enter smart flight modes in the bottom left hand side of the application interface.
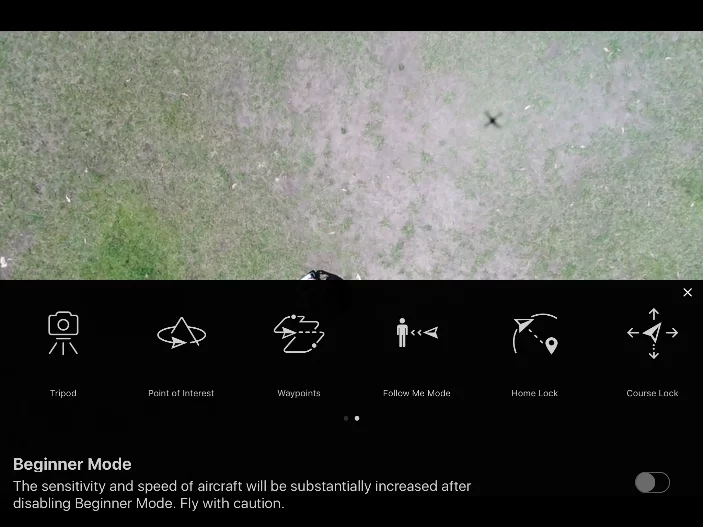
This Icon brings up the menu below of all the smart flight feature. Select Point of Interest.
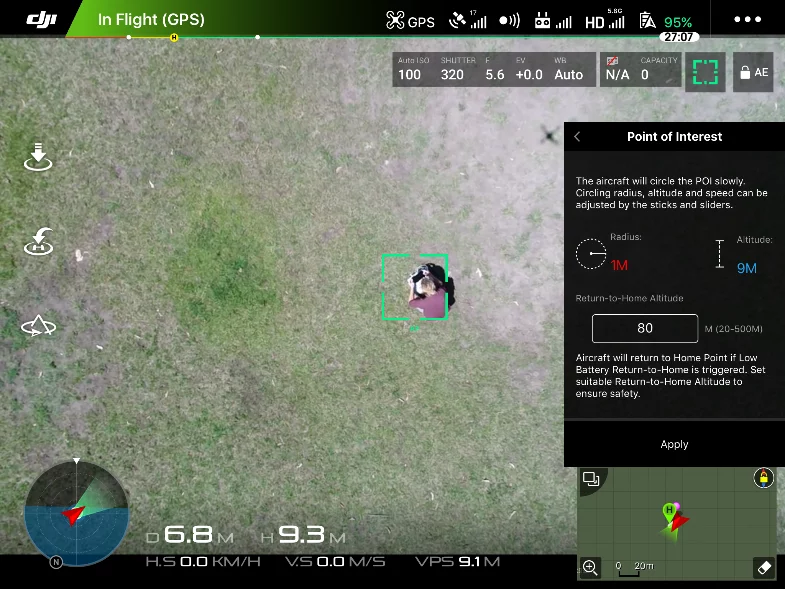
Hover over the point of interest with the camera facing completely downwards and click Record POI.
Requirements of the point of interest which appear on the right hand side panel are height and radius from the Point of Interest. Click Apply.
Once the Point of Interest is recorded move your craft until the radius length changes from red text 0m to a blue text at about 5m.
Getting closer to the asset is better for inspections, as you can capture more details. However pay attention to your distance and stay at least 5m away from the object when the drone is circling the Point of Interest.
This will ensure that each photo contains enough asset in the foreground and enough background image to produce a good quality 3D model. Using higher resolution cameras such as the Phantom 4 Pro’s 20.1Mp camera will provide you more flexibility in distance and help you deliver better results.
Another great feature that helps a lot with the inspection flights is collision avoidance. During this flight, Phantom’s collision avoidance sensors allowed me to maintain a safe distance from the tower whilst still obtaining the best shots required for the 3D model reconstruction.
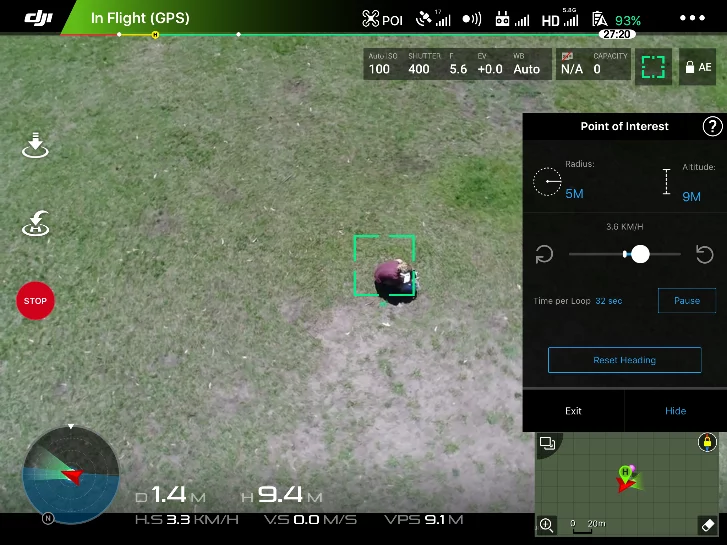
After setting up radius in the DJI GO App you can pick the speed of orbit.
I recommend 2.5km/hr as a good speed for slow movement around the asset. When your drone begins to orbit, click the shutter button on the remote control to start taking interval shots.
Quality tips:
- for a typical tower inspection I recommend taking around 150–250 images
- inspection photos should be taken from different altitudes including overhead (top-down) images and tower base surroundings
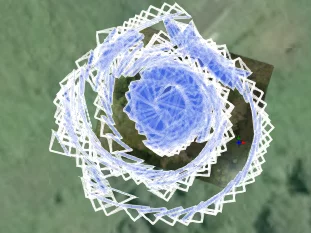
- while the drone is in orbit, modify the altitude with the throttle stick to achieve a nice helical orbit around the tower
- adjust the tilt on the camera to make sure the Point of Interest is always in the center of the image
Step 4: Uploading your inspection data to Propeller
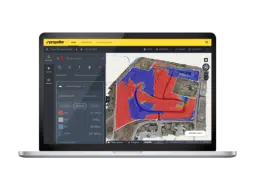
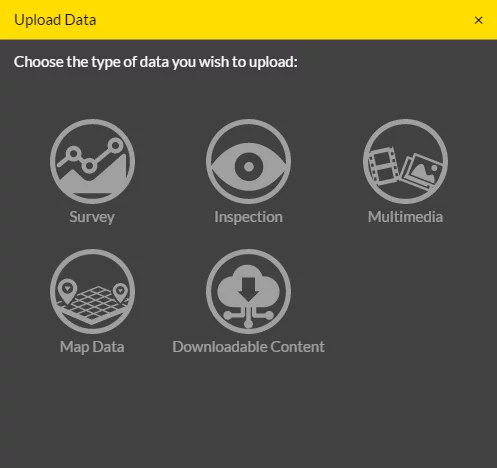
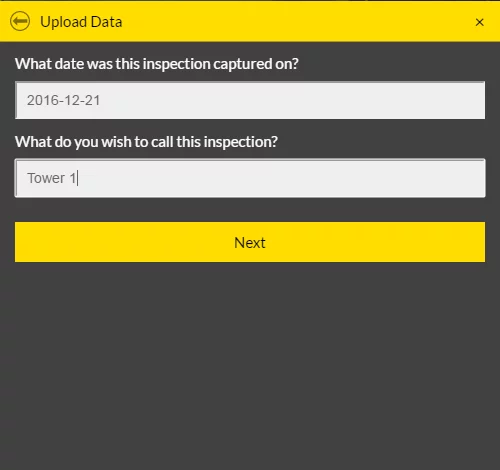
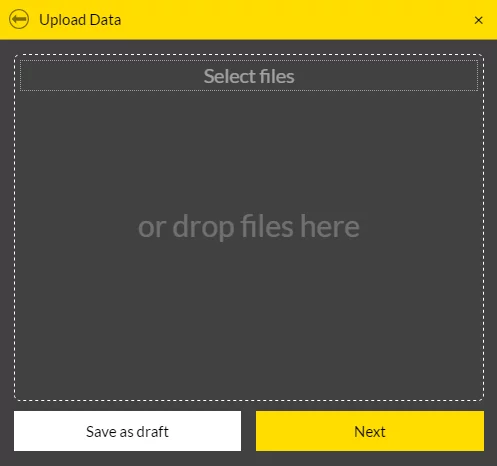
Go to your Propeller Portal and create a new project. Then upload the images choosing an Inspection data type.
Specify date of capture and inspection name.
Select and upload images from your SD card. DJI drones will automatically geotag photos but if you are using any other drone, make sure that your images are properly geotagged.
After the processing is complete, your project will become available in the inspection viewer. In the drop down menu on the left hand panel you will see the images used to process the 3D model and point cloud.
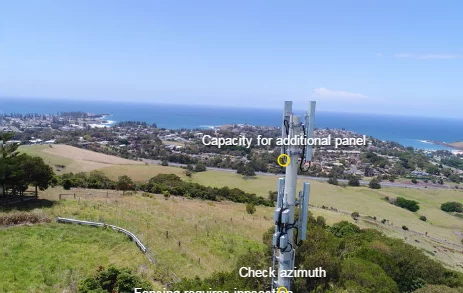
Inside the inspection viewer you can annotate tower parts, generate detailed PDF report or invite other portal users to access your data.
